Use Capacity Resource
Capacity resource types allow to have a restriction on the amount that each faction can have of that resource type by imposing an upper limit, referred to by capacity. In this tutorial, we will create a capacity resource type to use to count and cap population slots for unit entities.
1. Create Capacity Resource Type
In the project tab, right click and choose: Create -> RTS Engine -> Resource Type and call it tutorial_resource_population.
We went through creating a Resource Type in a previous tutorial where you can find every field explained in details as we will only focus on the capacity related ones here.
Configure the new population resource type like the following:
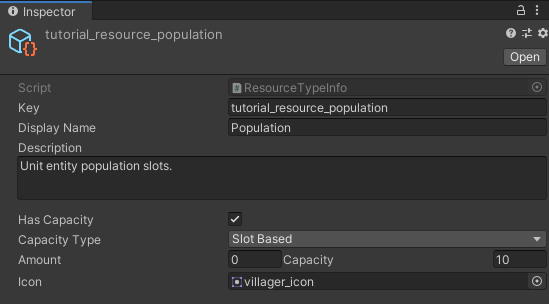
- Has Capacity: Make sure this field is enabled.
- Capacity Type: Defines how the resource handles its capacity. There are now two options. Simple Limit means that the resource amount will be capped/limited by a maximum capacity amount. Slot Based means that the free amount (difference between the capacity and the current amount) is the value that is available to be filled/used, the Slot Based capacity allows for having population slots as a resource type for example, therefore, we will use that option in this case.
- Amount: Assign to 0.
- Capacity: Initial cap on unit entity population slots. Set to 10 for example.
For the icon, you can simply use the villager_icon sprite from the demo files.
2. Configure Unit Prefab
Open the tutorial_unit prefab.
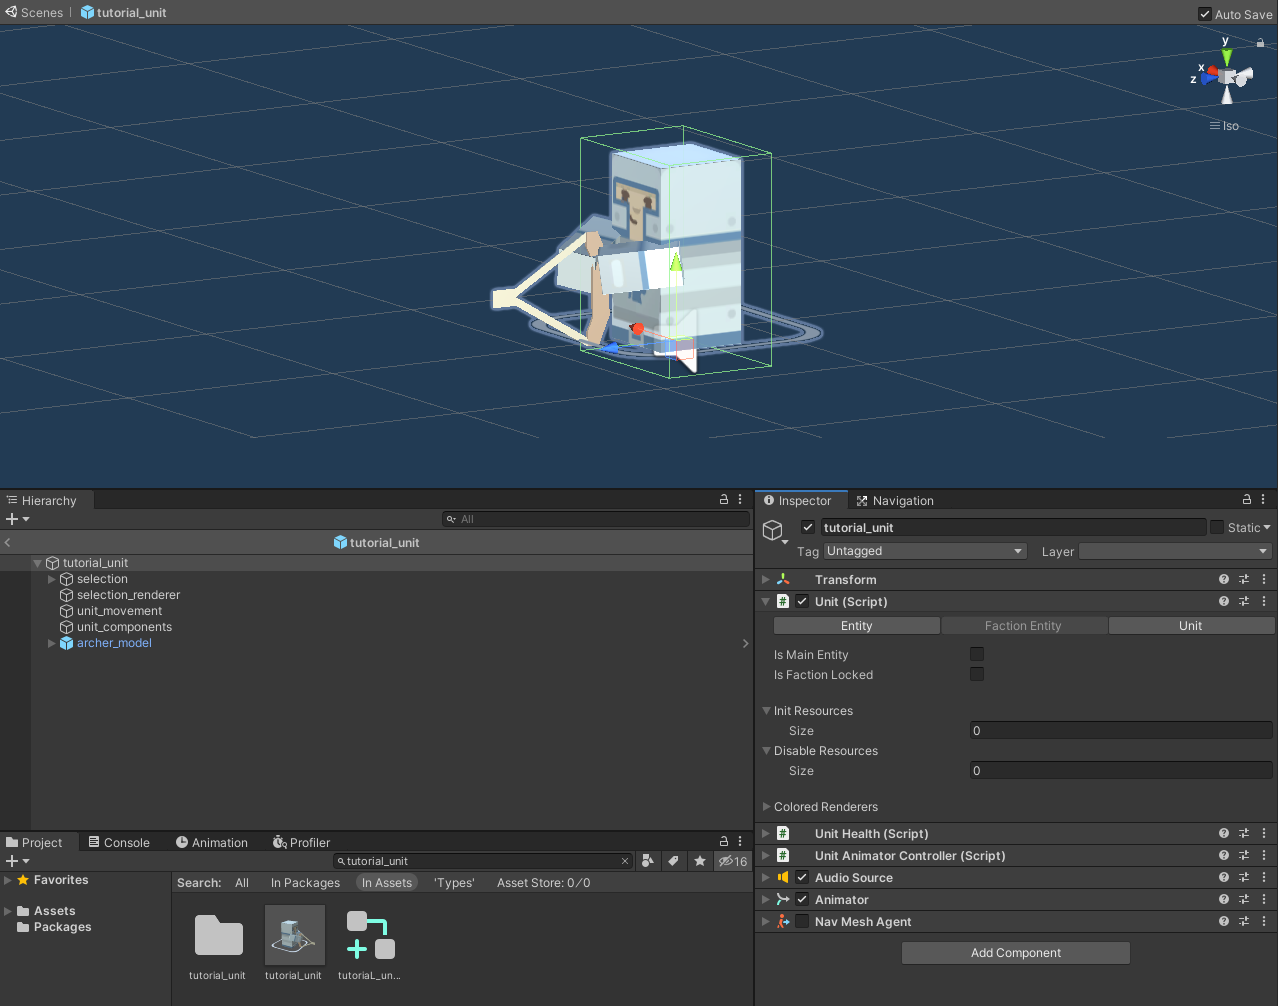
In the prefab's parent object, navigate to the Faction Entity Tab in the Unit component's inspector.
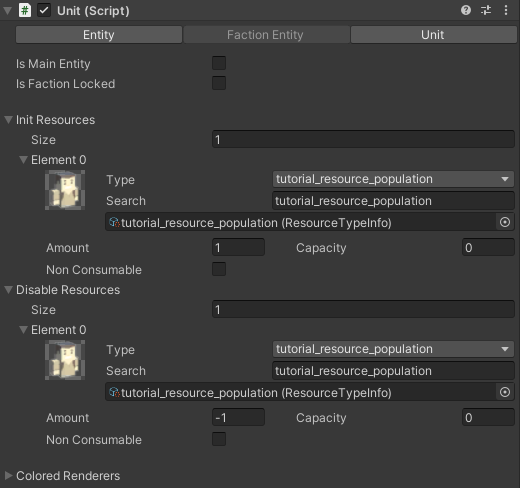
- Init Resources: Add one element and assign its type to the tutorial_resource_population resource type and set the Amount to 1. This means that whenever this unit type is initiated, the faction's count for the resource type will be incremented by the amount of 1.
- Disable Resources: Add one element and assign its type to the tutorial_resource_population resource type and set the Amount to -1. This means that whenever this unit type is destroyed/dead, the faction's count for the resource type will be decreased by the amount of -1.
3. Configure Unit Creator
In this tutorial, we configured the tutorial_building to be a unit creator for the tutorial_unit. Open the tutorial_building prefab.
3.1 Unit Creator Required Resources
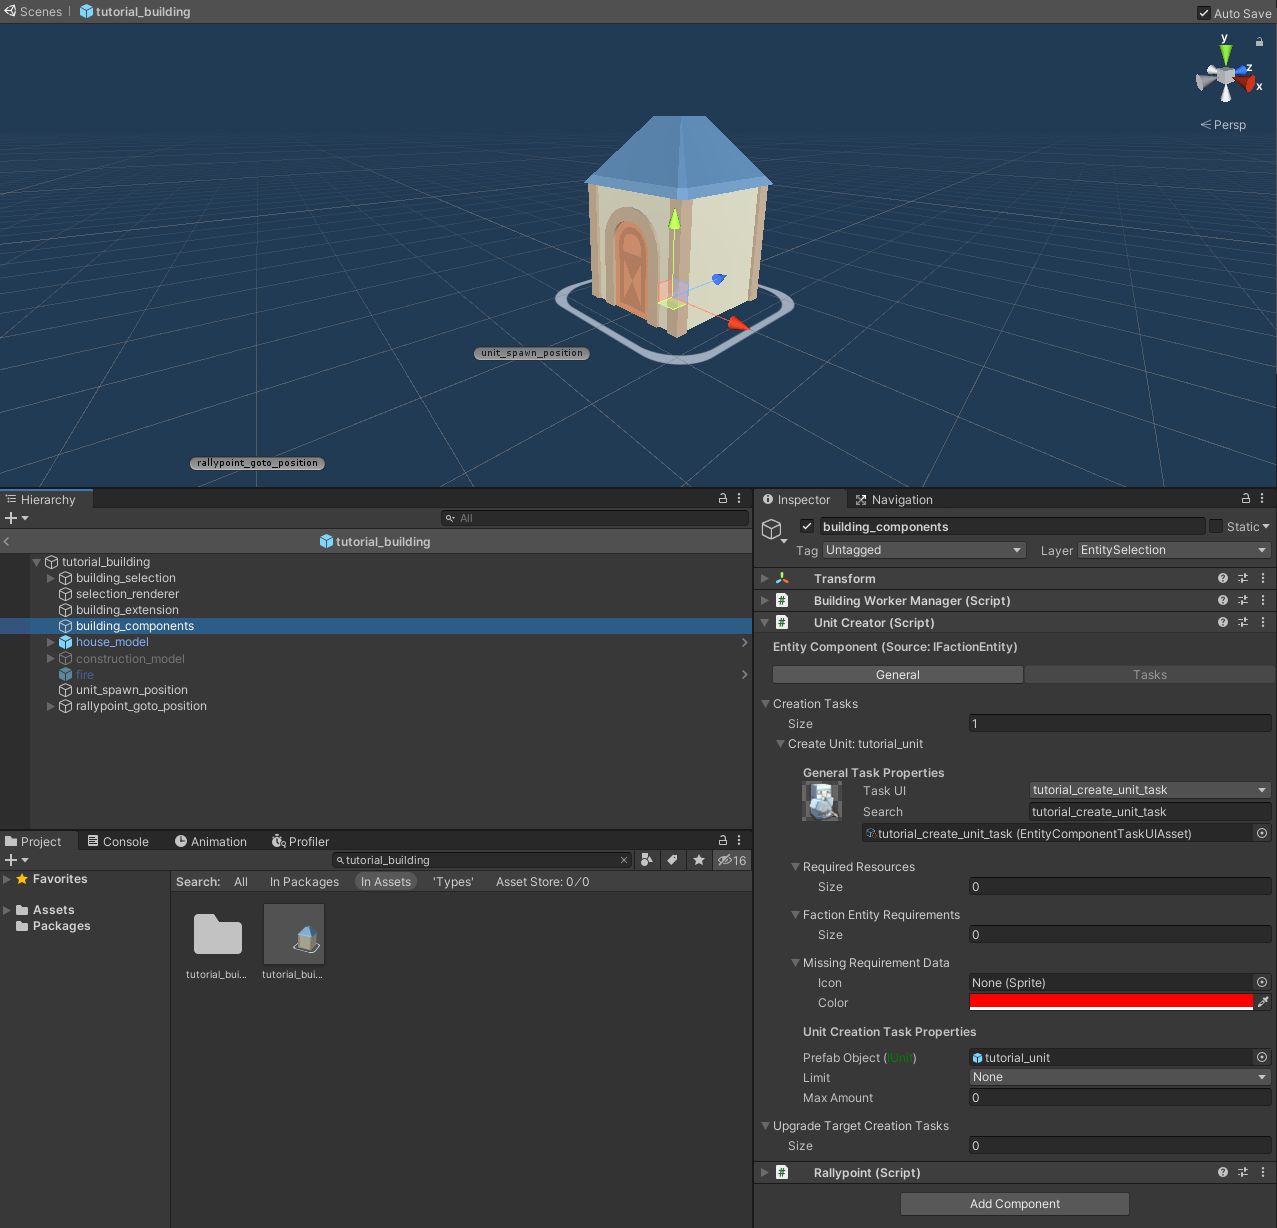
Navigate to the building_components child object and specifically to Tasks tab of the Unit Creator component's inspector.
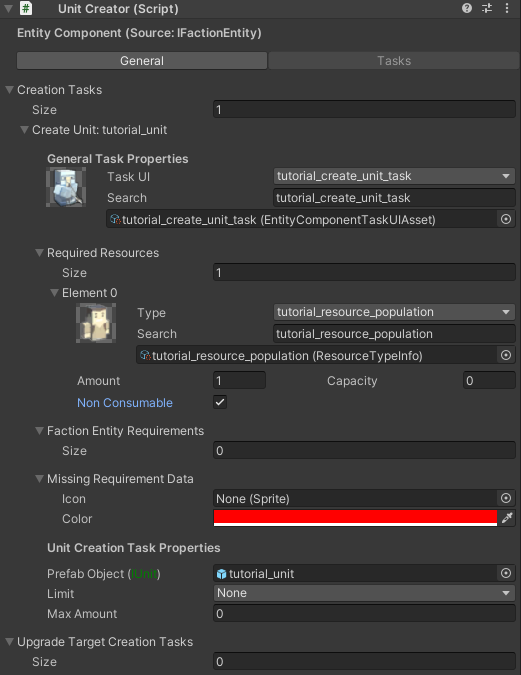
In the Required Resources field of the unit creation element in the Creation Tasks array field, add an element and set its type to tutorial_resource_population. Assign the Amount to 1 and enable the Non Consumable field. This means that before the unit creation task can be started or completed, the faction that owns the building must have at least one free slot of the specified resource. Non-consumable means that nothing is added to the resources count when the task is completed. In our example case this is desirable because we already set up the tutorial_unit (the one that is created via this task) to increment the resource's count when it is initiated and thus we take into account the instances of the unit that are already pre-placed in the map scene.
3.2 Increasing Capacity
In the tutorial_building prefab's parent object, navigate to the Faction Entity Tab in the Building component's inspector.
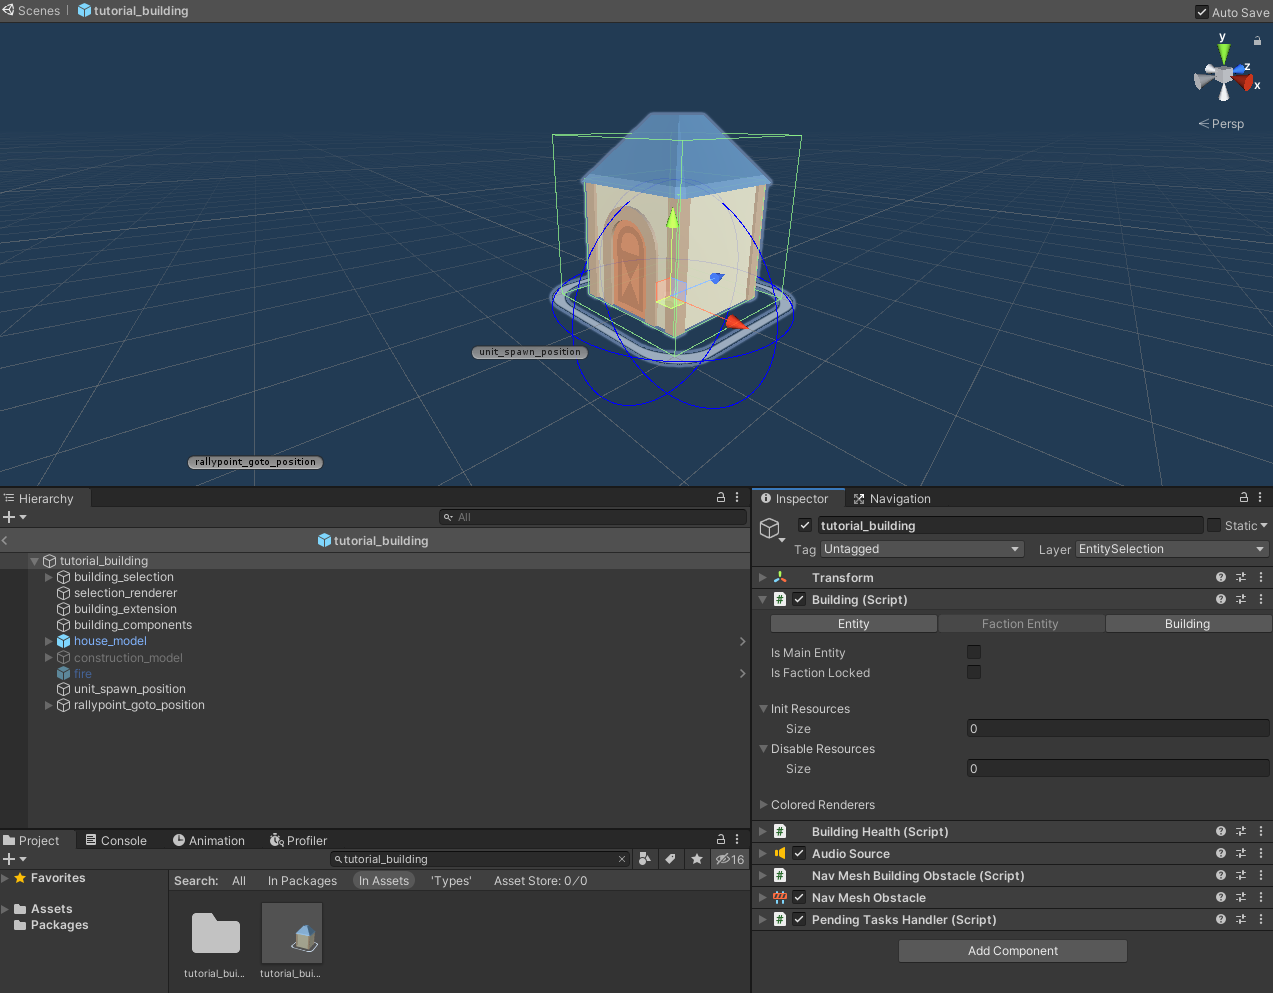
Update the following fields:

- Init Resources: Add one element and assign its type to the tutorial_resource_population resource type and set the Capacity to 5. This means that whenever this unit type is initiated, the faction's capacity count for the resource type will be incremented by the amount of 5. This means that the building entity allows to increase the population slots capacity to allow to create 5 more instances of the tutorial_unit.
- Disable Resources: Add one element and assign its type to the tutorial_resource_population resource type and set the Capacity to -5. This means that whenever this unit type is destroyed/dead, the faction's capacity count for the resource type will be decreased by the amount of -5.
4. Configure Scene
Open the tutorial_map scene.
4.1 Define Resource Type in Scene
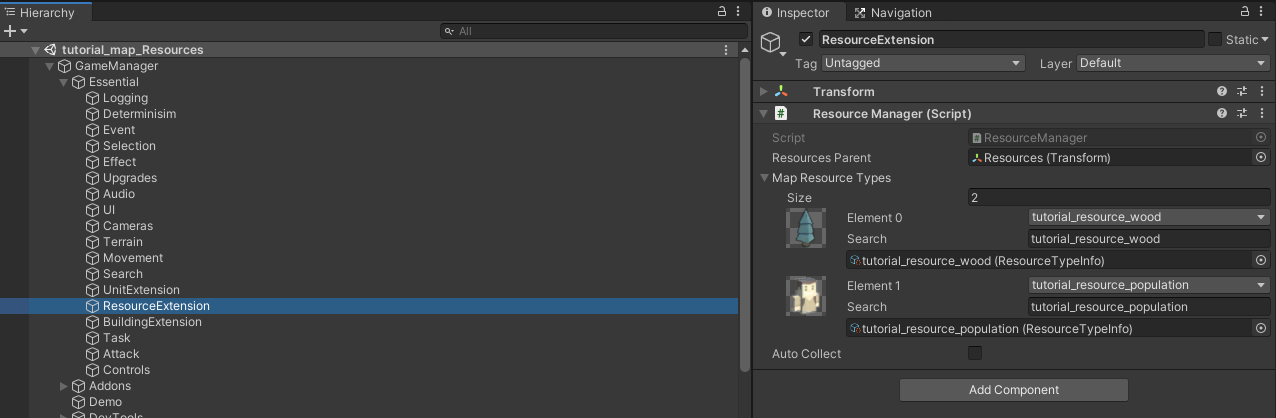
In the hierarchy, navigate to: GameManager -> Essential -> Resource Extension. In the Map Resource Types field of the Resource Manager component, add the tutorial_resource_population type.
4.2 Define Resource Type UI
In the hierarchy, navigate to: GameManager -> Addons -> UI. In the Resource Panel UI Handler's Data field, define the tutorial_resource_population resource type with All for the Allowed UI Faction Types. Here we will also disable the Display Collector Count field.

5. Testing
Start the tutorial_map scene and select the tutorial_building instance and create a couple of instances of the tutorial_unit.
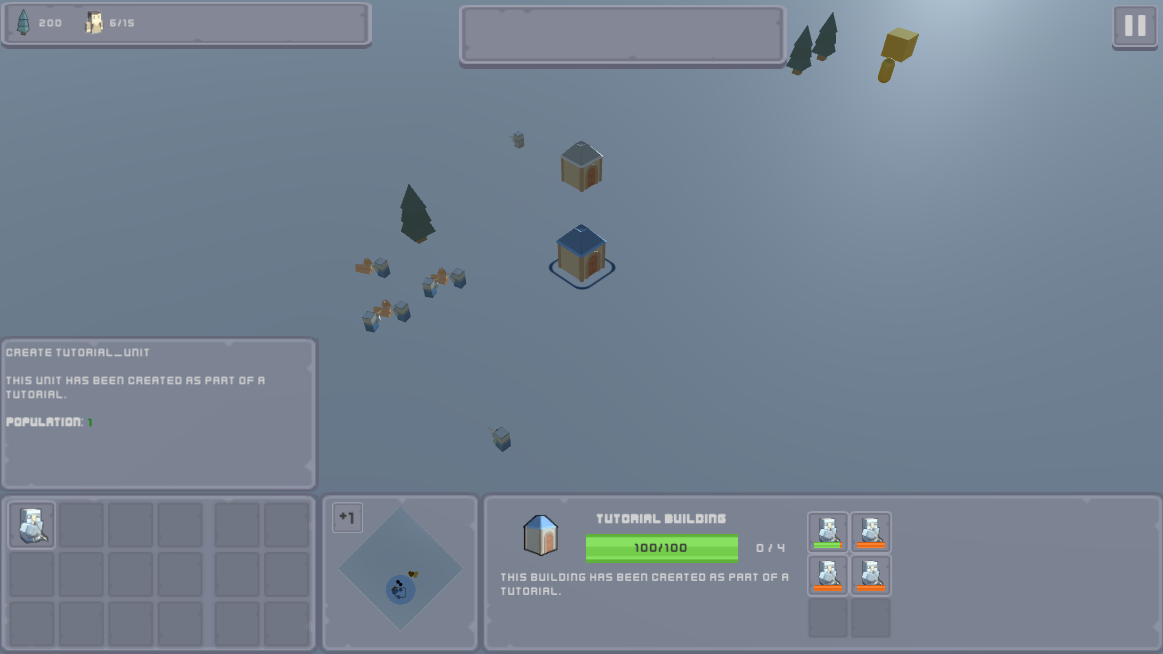
You can see in the unit creation's task tooltip that the tutorial_resource_population name appears with the required amount colored green, which means that there is an available slot to create another unit instance. Notice how the population resource's counter in the top left corner of the screen is updated when new instances are created.
Next create as much unit instances as needed to reach the limit of the population resource.
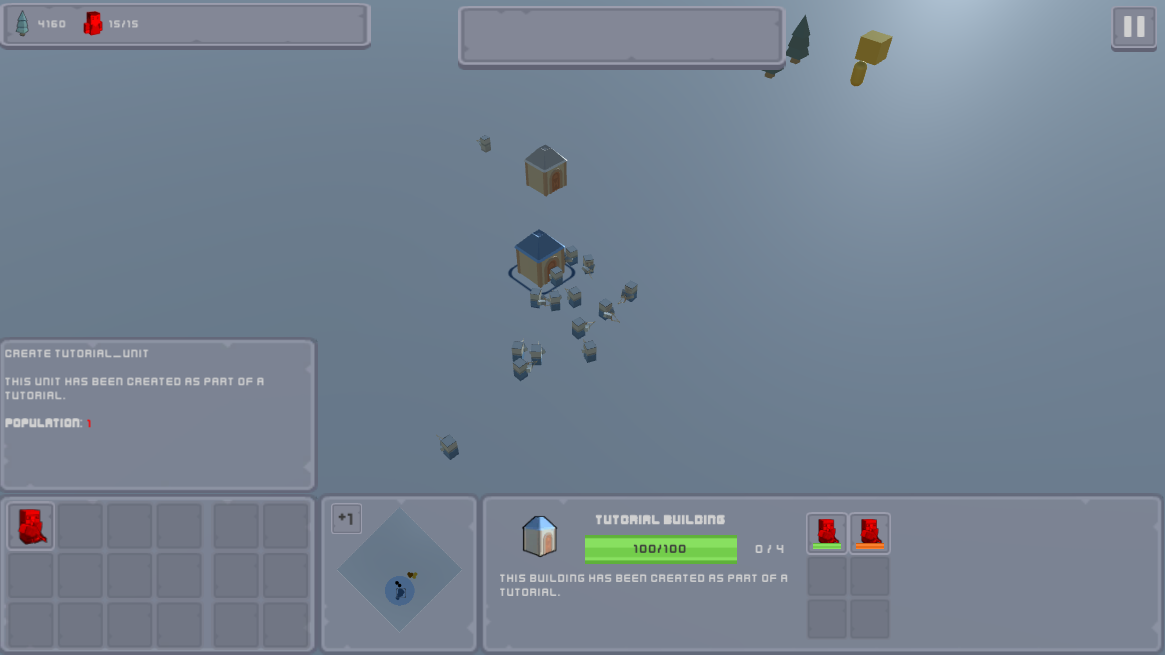
When the capacity resource limit is reached:
- The unit creation task can not be started anymore.
- The already launched creation tasks that are still pending can not be completed and are now frozen awaiting for the limit is to be removed.
- The top left corner resource count UI elements are updated to visualize that the capacity limit has been reached by coloring the population resource icon in red.
Now select the tutorial_unit instances and place a new tutorial_building instance and construct it fully.
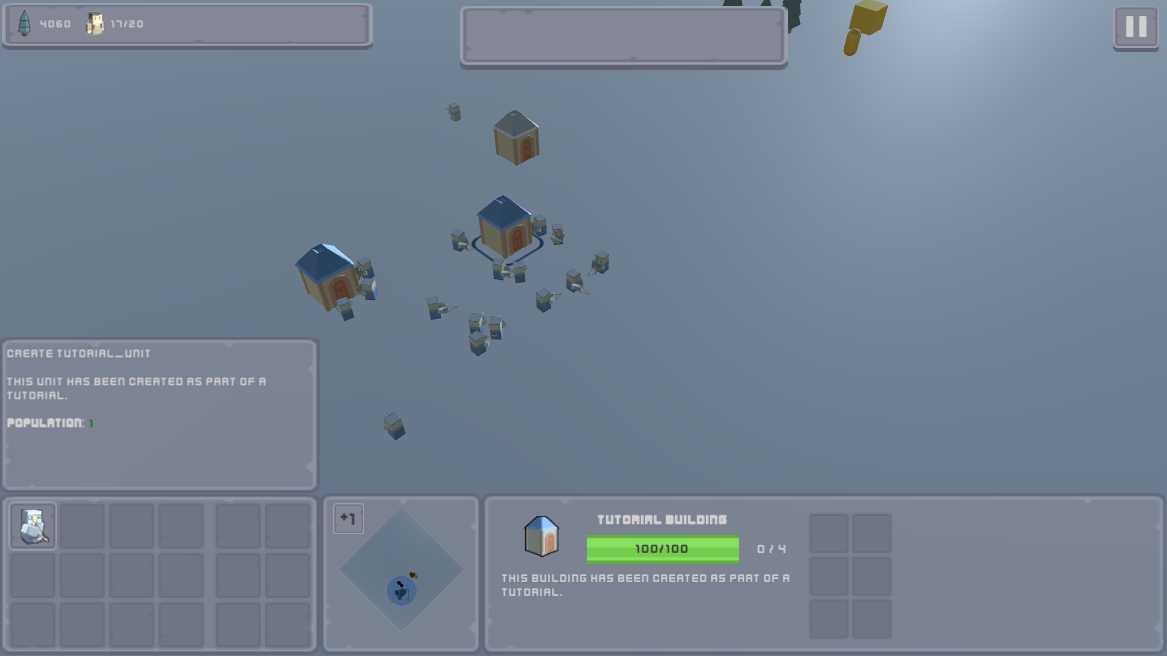
As we previously configured it, the tutorial_building increased the capacity amount by 5 which allowed the pending unit creation tasks to go through and for the unit instances to be produced and for the creation task to be unlocked due to the availability of the resource requirements.
Download Files
You can download the results of this tutorial here.