Setup Building Attack
In this tutorial, we will be adding an attack component for a building entity which would allow it to deal damage to enemy faction entities.
First, open the tutorial_building prefab and add a new child object to it under the name of building_attack.
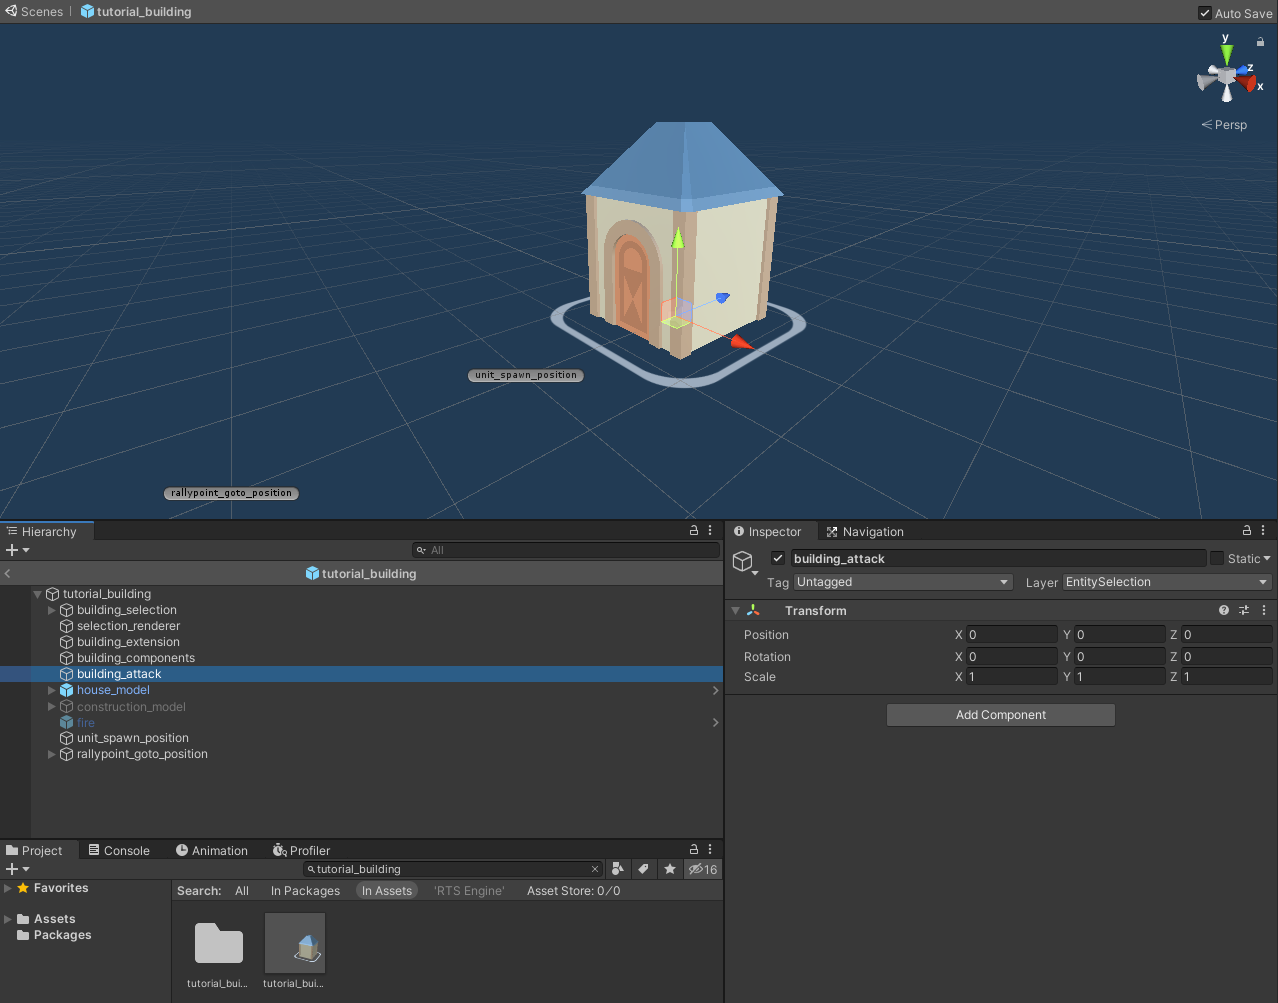
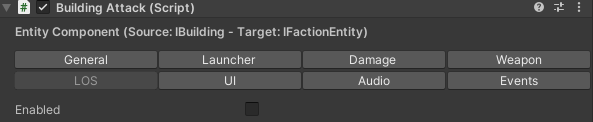
Then add the Building Attack component to the building_attack child object and let's start configuring it to setup an attack type that launches an arrow as a projectile towards enemy faction entities.

1. Configure Attack
1.1 General Tab
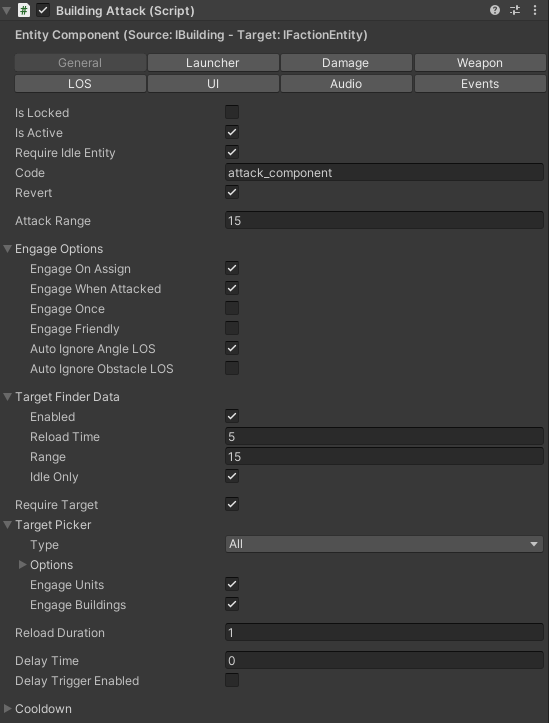
- Is Locked: Keep this field disabled so that the attack component can be used.
- Is Active: An attack component can only be used when it is active so make sure this field is enabled. A building entity can have multiple Building Attack components attached to it and at any point of time, only one of them is active.
- Require Idle Entity: Enable to require that the building is in an idle state before it engages into combat with an enemy entity.
- Code: Choose a unique code for the component to differentiate it from other entity components attached to the same entity. For example, we will call this attack_component.
- Revert: In case there are multiple attack components attached to the entity, the one that has this field enabled will be the one that gets activated whenever a cycle of another attack is performed. This allows to have a basic attack component and other attack types that can represent abilities for the entity which you can fire once each time before reverting back to the main basic attack type.
Attack Range: This field represents the range where the building is allowed to launch its attack in case there is a valid target faction entity in that range.
Engage Options: The options in this field define the behavior of the attacker building when it is searching or actively engaging with an active target:

- Engage On Assign: Engage when the local player assigns a target?
- Engage When Attacked: Allow the building to attack back any unit or building that attacks it first, when the attacker does not have an active target while it is being attacked?
- Engage Once: When enabled, the attacker will only launch one iteration of its attack towards the target and will then require the target to be re-assigned.
- Engage Friendly: When enabled, the attacker will be able to attack friendly faction entities.
- Auto Ignore Angle LOS: Auto-engage entities that are blocked by the LOS angle (attacker not looking at target)? This only applies for auto-targeting entities. When disabled, the attacker will not be able to auto-engage with an enemy if it does not see it within its line of sight which is defined in the LOS Tab.
- Auto Ignore Obstacle LOS: Auto-engage entities that are blocked by obstacles? This only applies for auto-targeting entities. When disabled, the attacker will not be able to auto-engage with an enemy if it is behind an obstacle for example. What defines an obstacle can be specified in the LOS Tab.
We can keep the default settings for this field, meaning only Engage On Assign, Engage When Attacked and Auto Ignore Obstacle LOS are enabled.
Target Finder Data: This field allows the attacker to automatically look for potential enemy faction entities to attack within a specific range without the player commanding them to do so. When enabled, you need to set the following properties:

- Reload Time: Period of time (in seconds) before the entity searches automatically for a target in its range.
- Range: The size of the target search range.
- Idle Only: When enabled, the automatic target search executed by this component can only happen if the entity is idle, meaning that no other target component attached to the entity has an active target.
We want this option enabled with a Range of 15 and a Reload Time of 3 with Idle Only enabled. We have set the search range to be the same as the attack range so that if an enemy entity enters the search range of the building, it will be directly attacked.
Require Target: We want to setup this attack so that it is only launched when the attacker has an active target. Therefore we enable this option.
- Target Picker: This field defines what faction entities the attacker is allowed to attack. To keep things simple, we will leave the Type assigned to All to allow the tutorial_building to attack any type of enemy faction entities. The Engage Units and Engage Buildings fields allow to toggle attack engagement for all unit and building types respectively.
- Reload Duration: When an attack's iteration is over, this is the time required for the attacker to wait before it can enter into its next attack iteration. A reload time of 1 (second) can be assigned as an example.
- Delay Time: When having an active target, this field represents the amount of time (in seconds) that delays the launch of the attack iteration. This is particularly useful when you have an attack animation with some build up and you want to sync the attack with that animation. In this case, we will leave at 0, meaning there is no delay.
Delay Trigger Enabled: If enabled, then another component must call the 'TriggerAttack()' method in the attack component to trigger the attack launch in each iteration. When enabled, this options gives you greater control over when to launch the attack as you can sync the delay triggering with custom behavior in your code's logic. In this example however, we would like to keep things more simple and therefore keep this field disabled.
Cooldown: When enabled, the attack cooldown is triggered after each launched attack iteration and it blocks the attack from proceeding until the cooldown time is over. This is useful when you have multiple attack components attached to the same entity, assuming one of the attacks is the primary one, you can have a more powerful special attack that has a cooldown attached to it so that there is a limitation on when it is launched.

1.2 Launcher Tab
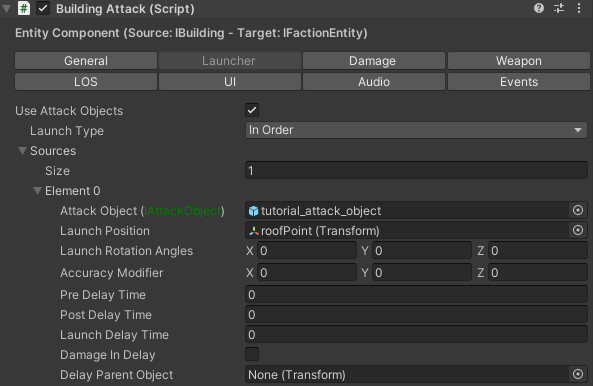
The launcher allows to launch one or multiple attack objects towards a target within one attack iteration. Each attack object to launch must have an element defined for it in the Sources array field. The Launch Type field decides what to make of the attack objects defined and how or in which order to launch them. You have the following launch options:

- Random: In each attack iteration, only one attack object source will be chosen randomly and used for that iteration.
- In Order: In each attack iteration, all the attack object sources will be used consecutively in the order they have been defined at in the Sources array field. This is useful when you have multiple attack objects sources and you have delays for each source before the next one launches to construct a complex attack launch.
- Simultaneous: In each iteration, all the attack object sources will all be launched at the same time.
Since we will only be dealing with one attack object source in this case then it does not matter which launch type we pick.
Now add a new element to the Sources array field and set the following fields:
- Attack Object: Drag and drop the tutorial_attack_object into this field. We created this as part of [a previous tutorial](xref:Combat_SetupCloseRangeMeleeUnitAttack#1. Create Attack Object).
- Launch Position: This is the transform that defines the starting point from which the attack object will be launched. If you are using the demo house model for the tutorial_building entity then you can its model's roof object as the attack source.
We will keep the rest of the fields assigned to their default values. The rest of the fields are mostly related to enabling a delay time that allows to control the timing of the attack object's launch more precisely, which means that the launch of the attack object will not have any delays in this example. We have however went through these fields [a previous tutorial](xref:Combat_SetupCloseRangeMeleeUnitAttack#2. Setup Attack Component).
1.3 Damage Tab
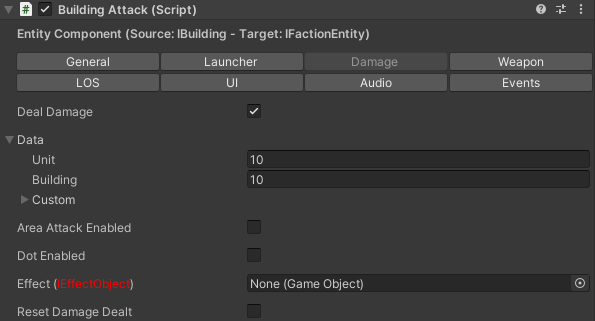
- Deal Damage: In order for the attack to deal an actual damage, this field must be enabled.
- Data: This field defines the damage points that the attacker can inflict on its target. You can pick a base damage value for units and buildings respectively, which we can set to 10 for both. The Custom sub-field allows you to define damage points specific to faction entity types or categories.
- Area Attack Enabled: This attack is not an area of effect attack so keep this option disabled.
- Dot Enabled: This option allows for the attack to deal damage over time. We will however keep it disabled for now.
- Effect: Appears on the target when damage is dealt to it.
- Reset Damage Dealt: The attack component keeps track of the damage points it has dealt to enemy entities. When this option is disabled, the damage dealt log is reset every time the attacker has a new target. You can access this value through code.
We went through how to setup advanced attack configurations such as the area of effect and damage over time attacks in the previous part.
1.4 Weapon Tab

Assigning a child object of the attacker to the Weapon Object field would allow you to control the rotation of the weapon object according to the attack state. This is useful when you have a tank unit and you would like to control the rotation of its barrel independent of the rotation of the whole vehicle. For this case, we will keep the Weapon Object field unassigned.
1.5 LOS Tab
To keep things simple, we will have line of sight options disabled. This means that the target being in the line of sight of the attacker or not is irrelevant for the attacker to engage with the target as long as it is in its attack or search range. This is also partially because we are dealing with a building attack and not a unit attack since a unit is able to rotate and adjust its LOS.
1.6 UI Tab
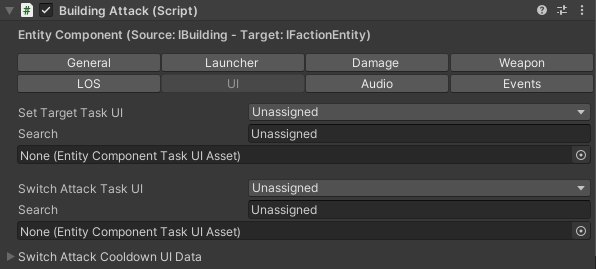
- Set Target Task UI: An entity component with an ability to set a target allows the player to set that target either by a right-mouse click on the target while the entity is selected or by a dedicated task that appears in the dedicated UI task panel when the entity is selected as well. The data that defines the task are assigned here. We went through setting up such a task in the Add Movement Task section. However we will leave this component without a dedicated target assignment task.
- Switch Attack Task UI: If the attacker has multiple attack components attached to it. This field allows to define a task in the attacker's task panel that allows to deactivate all attack components and enable the one that corresponds to it. This makes switching between attack types possible. Since we are only dealing with one attack component in this case, we will keep this field unassigned.
- Switch Attack Cooldown UI Data: This field allows to change the attack switch task data (assigned in the above field) when the attack is in cooldown and switching to it is not possible. If the Icon field is assigned then the icon will completely replaced and if not, the original icon will be colored with the color assigned in the Color field.
We went through how to setup and handle multiple attack components and switching between them in the previous part.
1.7 Audio Tab

This tab allows to define audio clips to be played when the attacker enters the range of its target, when it is ordered by the local player to attack a target entity and when an attack iteration is complete.
1.8 Events Tab
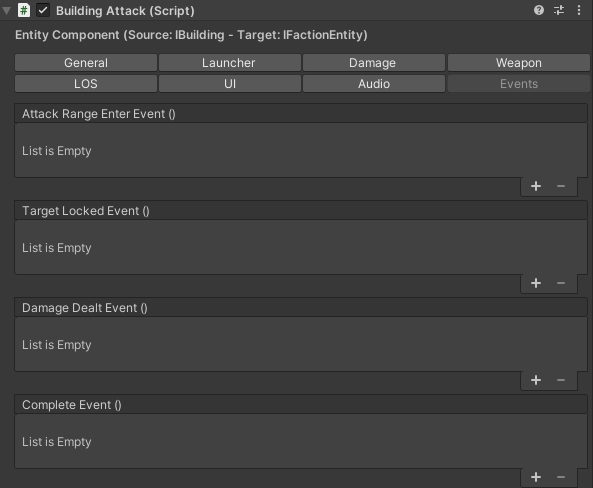
This tab includes Unity Event fields that are invoked in different stages of an attack iteration. These events allow you to extend the behavior of the attack component through your custom logic.
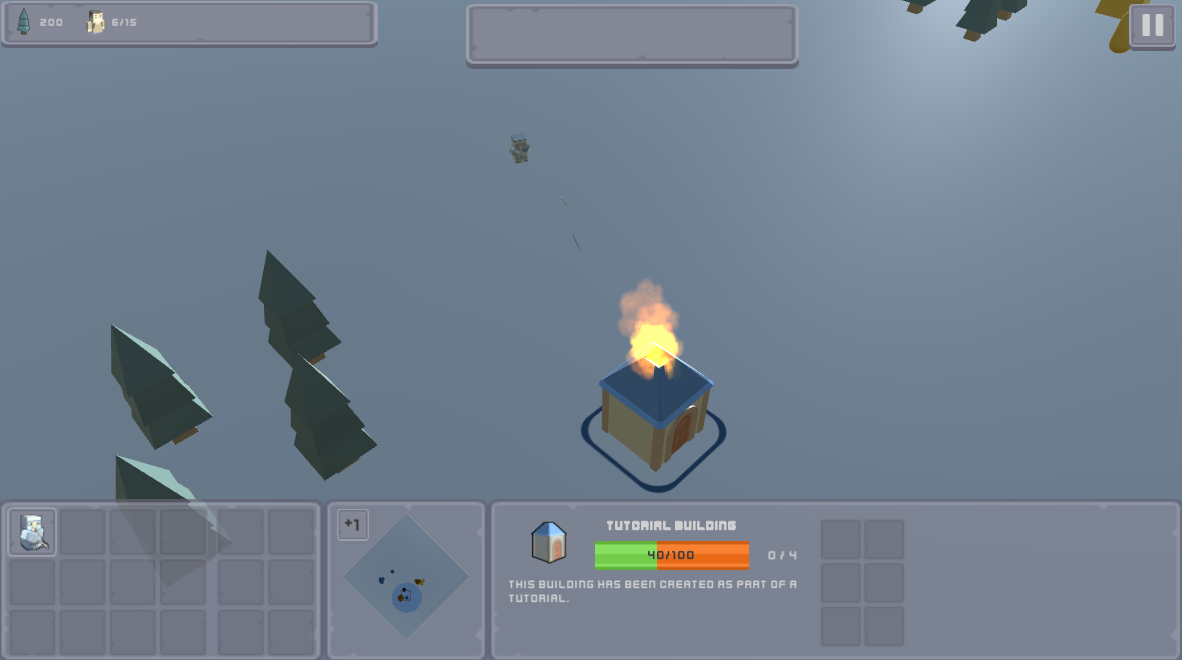
2. Testing
Open the tutorial_map scene and play it. Select a tutorial_building instance and command it to attack an enemy faction entity in its range or wait for the auto-engage to auto-attack.
Download Files
You can download the results of this tutorial here.